Ledger.com/start Process – A 500-Word Guide
Setting up your Ledger hardware wallet is a crucial step toward securing your cryptocurrency. Ledger devices, such as the Ledger Nano S Plus and Ledger Nano X, offer a secure way to store and manage crypto assets offline. The official setup starts at ledger.com/start. This guide outlines the full process in detail to help you get started with confidence.
Step 1: Visit the Official Ledger Website
Begin by going to ledger.com/start. This ensures you are downloading the official software and not a potentially malicious copy. Select your Ledger device model (Nano S Plus, Nano X, etc.) from the list to begin tailored setup instructions.
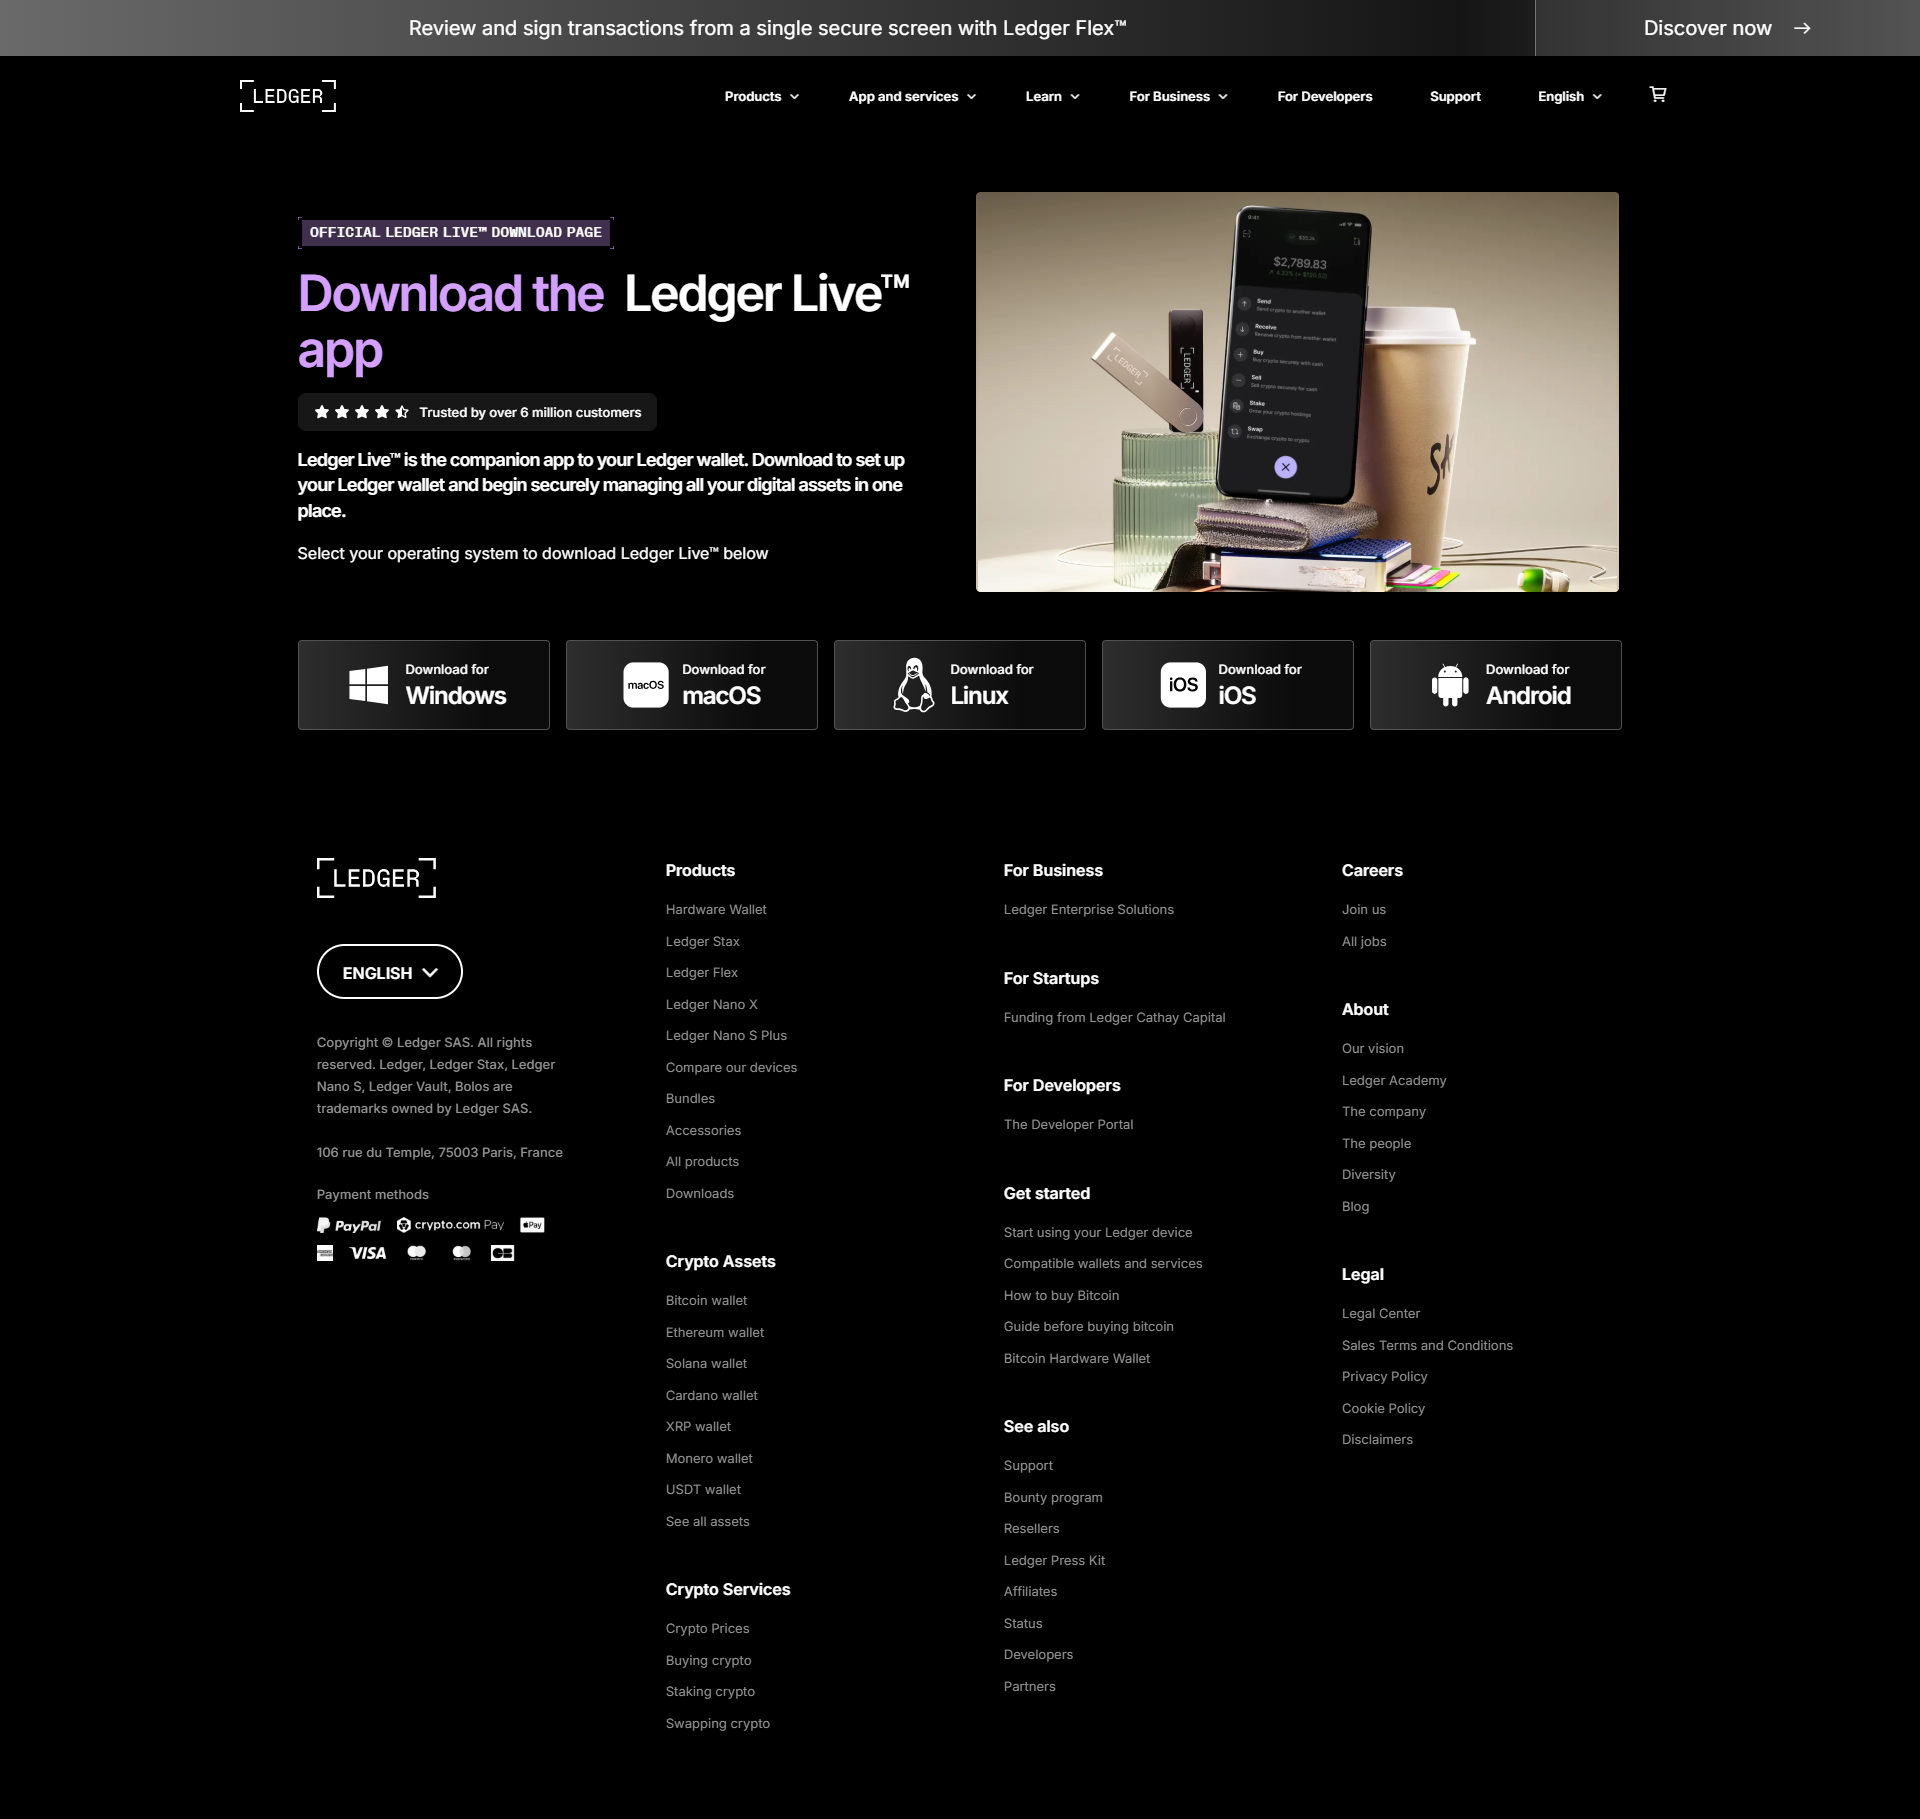
Step 2: Download Ledger Live
Ledger Live is the official desktop and mobile app for managing your device and crypto. Download it from the site based on your operating system (Windows, macOS, Linux, iOS, or Android). Once installed, open the app and click on "Get Started."
Step 3: Initialize Your Ledger Device
Choose "Set up as new device" if this is your first time using the Ledger. Turn on your Ledger device by pressing its buttons simultaneously. You’ll be asked to create a PIN code—this adds a layer of physical security.
Important: Never share your PIN or recovery phrase with anyone. Ledger will never ask for it.
Step 4: Write Down Your Recovery Phrase
The device will display a 24-word recovery phrase. This is your backup and the only way to restore your wallet if your device is lost, stolen, or damaged. Carefully write it down on the provided recovery sheet and store it in a secure, offline location. Confirm each word in the order shown to continue.
Never take a photo or store the phrase digitally—it poses a serious security risk.
Step 5: Verify Your Device
Ledger Live will now guide you through a process to verify your device. It checks for genuine Ledger firmware to ensure the device has not been tampered with. If verified, proceed to the dashboard.
Step 6: Install Apps and Add Accounts
From Ledger Live, go to “My Ledger” to install specific crypto apps (like Bitcoin, Ethereum, etc.) on your hardware device. Then navigate to “Accounts” to add the wallets corresponding to those coins. You can now receive crypto to your Ledger wallet addresses.
Step 7: Start Using Your Ledger Wallet
You’re now ready to send and receive crypto using your Ledger device. Each transaction will require physical confirmation via your Ledger, offering an extra layer of security.
Final Tips
- Firmware Updates: Keep your device and Ledger Live up to date.
- Security: Never share your recovery phrase. If someone else gains access, they can steal your funds.
- Support: For issues or questions, always refer to support.ledger.com.
By following the setup process at ledger.com/start, you ensure your crypto assets are stored with industry-leading protection.
Made in Typedream